WeightPlay
Orb Fortress
Orb Fortress
0%
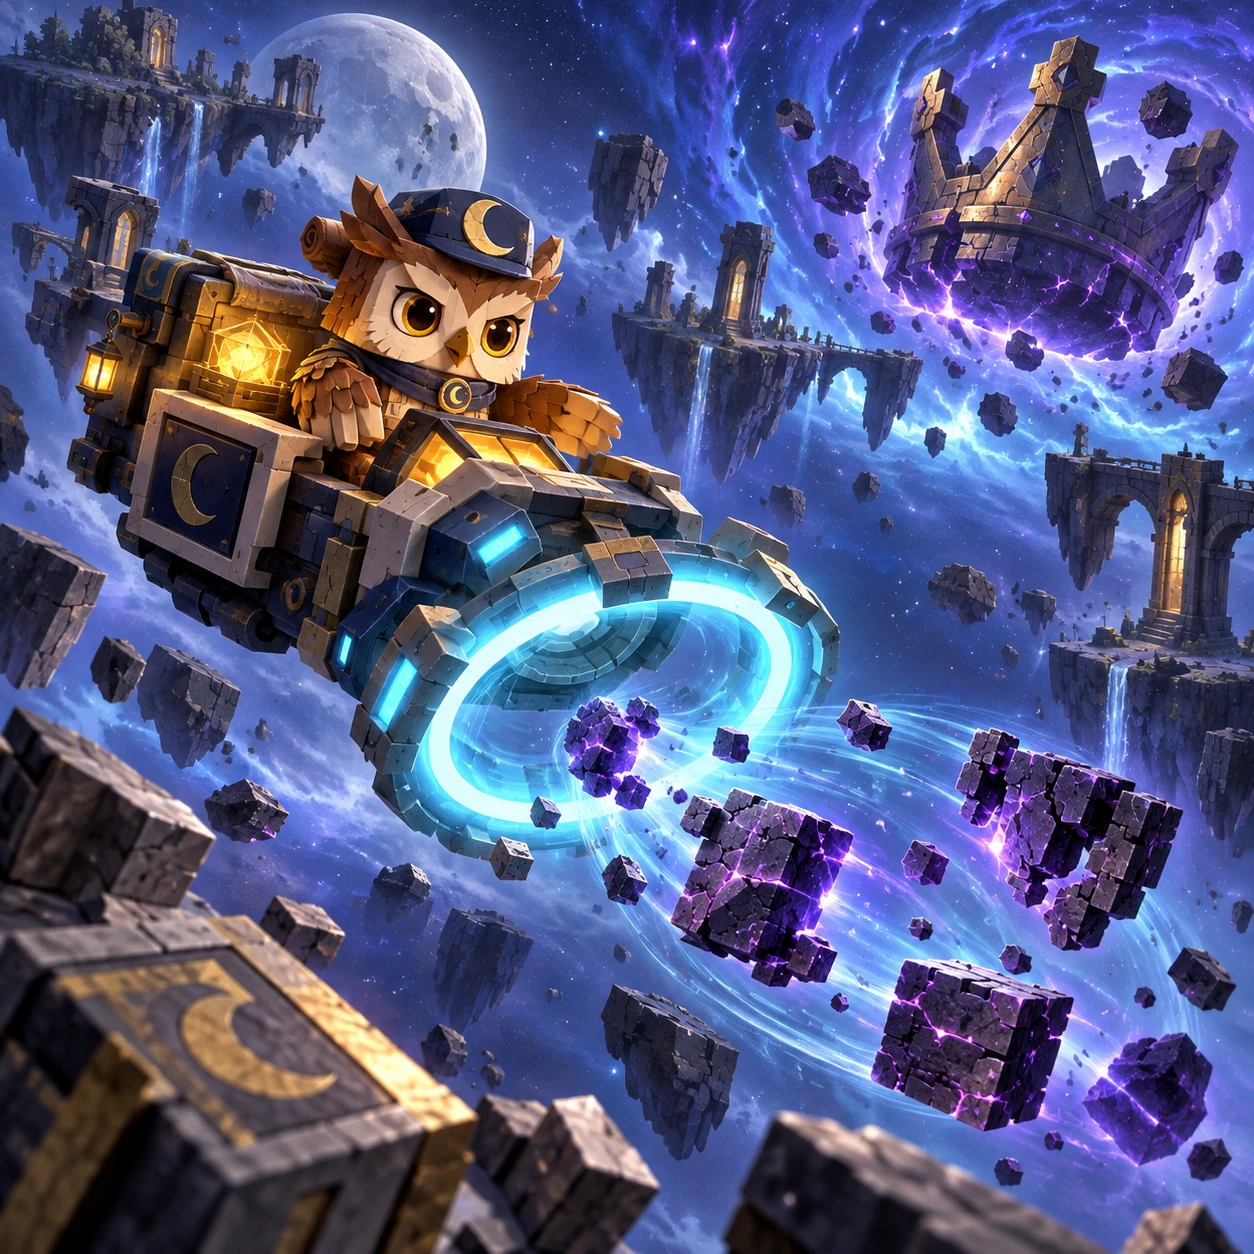
Animal Orb Fortress is a ricochet defense campaign about reading an arena before releasing a spirit orb. Early routes use three waves, normal late routes use five, and each fifth-route Boss checkpoint adds waves progressively up to ten. The player drags from the lion keeper to preview a wall-bounce path, releases one star orb at a time, and protects the crystal core while shadow beasts advance. Each orb spends its rebound allowance on walls or obstacles, then vanishes at its final contact; enemy hits do not consume that allowance. Six five-route regions add skitters, thorn brutes, blinking wisps, armor, anchors, phasing enemies, splitters, moving mirror pylons, telegraphed chargers, and six mechanically different regional Bosses. Between waves, one fortress blessing changes the current raid; between routes, Star Stones improve four permanent fortress rooms.
The Crystal Fortress was built where six guardian roads meet: the Crystal Woodland, Thornworks, Moon Ruins, Mirror Vault, Storm Bastion, and Eclipse Heart. When the fortress core began broadcasting an unstable pulse, shadow animals followed those roads inward. The lion orb keeper cannot leave the core unguarded, so every defense is fought from the launcher chamber by redirecting spirit orbs through the surrounding walls and mirrors.
Clearing a route means its road is stable enough for repair crews to reopen it. Rootbound Golem tests the woodland gate, Brambleback Colossus occupies the thorn forge, Lunar Wisp Matriarch phases through the moon road, Prism Shell Regent controls the mirror vault, Tempest Horn Guardian marks storm lanes, and Voidcore Emperor seals the final chamber with three core phases. Completing Route 30 reconnects all six roads and stops the corrupted pulse from drawing more enemies to the fortress.
Aim and ricochet: drag from the launcher to see the initial path, then release one star orb. Each click launches exactly one orb from the keeper's hand; Capacity upgrades open additional independent in-flight slots. Wall and obstacle contacts consume its rebound allowance, enemy hits do not, and the orb vanishes at the final allowed contact. Wall banks can cross multiple lanes or reach a target hidden behind another formation. Piercing Shine shortens the delay before one orb can hit the same target again.
Wave pacing: Routes 1–4 use three waves, standard routes after the first checkpoint use five, and Boss routes 5, 10, 15, 20, 25, and 30 use 4, 6, 7, 8, 9, and 10 waves respectively. A cleared wave pauses inside Battle for one blessing choice, then resumes the same route with surviving core HP and current upgrades.
Distinct enemies: skitters weave across their lane, thorn brutes crawl slowly but hit the core harder, wisps blink sideways and leave after-images, armored beasts absorb hits, stationary anchors shield allies, phase beasts become temporarily intangible, splitters create two fast shards on defeat, and chargers mark a lane before a high-speed rush and recovery opening.
Mirror pylons: later routes place one or two solid hexagonal pylons inside the arena. Orbs physically reflect from them, creating bank paths that do not exist in the early regions. Some pylons move horizontally, so a previously safe angle may stop working during the same wave.
Boss rules: Rootbound rebuilds a breakable guard; Brambleback summons anchors and armored support at health thresholds; Lunar Wisp alternates visible and phased periods; Prism Shell can only be damaged while its gold shield segment is open; Tempest Horn is vulnerable after a marked charge; Voidcore changes phase twice, adds escorts, rebuilds protection, and activates two mirror pylons.
Run and permanent growth: each wave offers Bigger Orb, Split Orb, Piercing Shine, Faster Recharge, Core Shield, or Scout Magnet according to the current choice cycle. Star Stones earned at Result improve Orb Forge damage, starting Core Shield HP, Companion Den support strikes, and Scout Tower rewards. A three-Diamond blessing reroll is optional, confirmed in two steps, and never required to unlock routes.
Routes 1-5 teach direct fire, one-wall banks, separated lanes, and target order. Rootbound Crown is the first checkpoint: the Golem rebuilds guard after an exposed interval, so the player must break protection and use the opening rather than fire without timing.
Routes 6-10 introduce hit-count armor and stationary thorn anchors. Routes 11-15 replace constant firing with phase timing and then add the first moving reflection gate. Brambleback Colossus summons protection during the fight, while Lunar Wisp Matriarch alternates invulnerability with a recovery window.
Routes 16-20 add physical mirror pylons and splitters whose defeat creates faster shards. Routes 21-25 mark charge lanes and add storm timing. Prism Shell Regent rotates a damage window; Tempest Horn Guardian must complete its rush before it can be hurt.
Routes 26-30 combine armor, anchors, phase timing, splitters, chargers, and moving pylons in authored formations. Route 29 uses the full ordinary-enemy vocabulary. Route 30 adds two Voidcore phase changes, four support summons, rebuilt shielding, and two active pylons, testing aim planning, target priority, timing, upgrades, and permanent fortress growth together.
Wave pacing grows with the campaign: three short waves teach the first routes, five waves create the normal late-route rhythm, and each fifth-route Boss checkpoint adds a longer 4–10-wave finale. Wave breaks preserve core damage and the current build, but provide one compact blessing decision before the next formation. The first regions rely on walls so players can learn predictable geometry; later mirror pylons create new surfaces and invalidate memorized angles. Each ordinary enemy now communicates a clear counterplay through movement, angular markers, shield cues, phase marks, or charge lanes instead of requiring a long rules panel during Battle. Pointer drag is the primary phone control, while Left and Right adjust the same aim on a keyboard and Space or Enter fires. Compared with Beast Guardian's defender placement or Animal Auto Squad's formation planning, Animal Orb Fortress makes the shot path itself the main strategic resource.
The browser saves the best unlocked route, Star Stones, play count, and four fortress-room levels on this device. Basic play does not require an account. Clearing this site's browser storage may remove that progress. Diamond blessing rerolls are optional, show the current and resulting balance, and are not required for the campaign. Scores and Skill Reports describe play only and are not formal ability measurements.